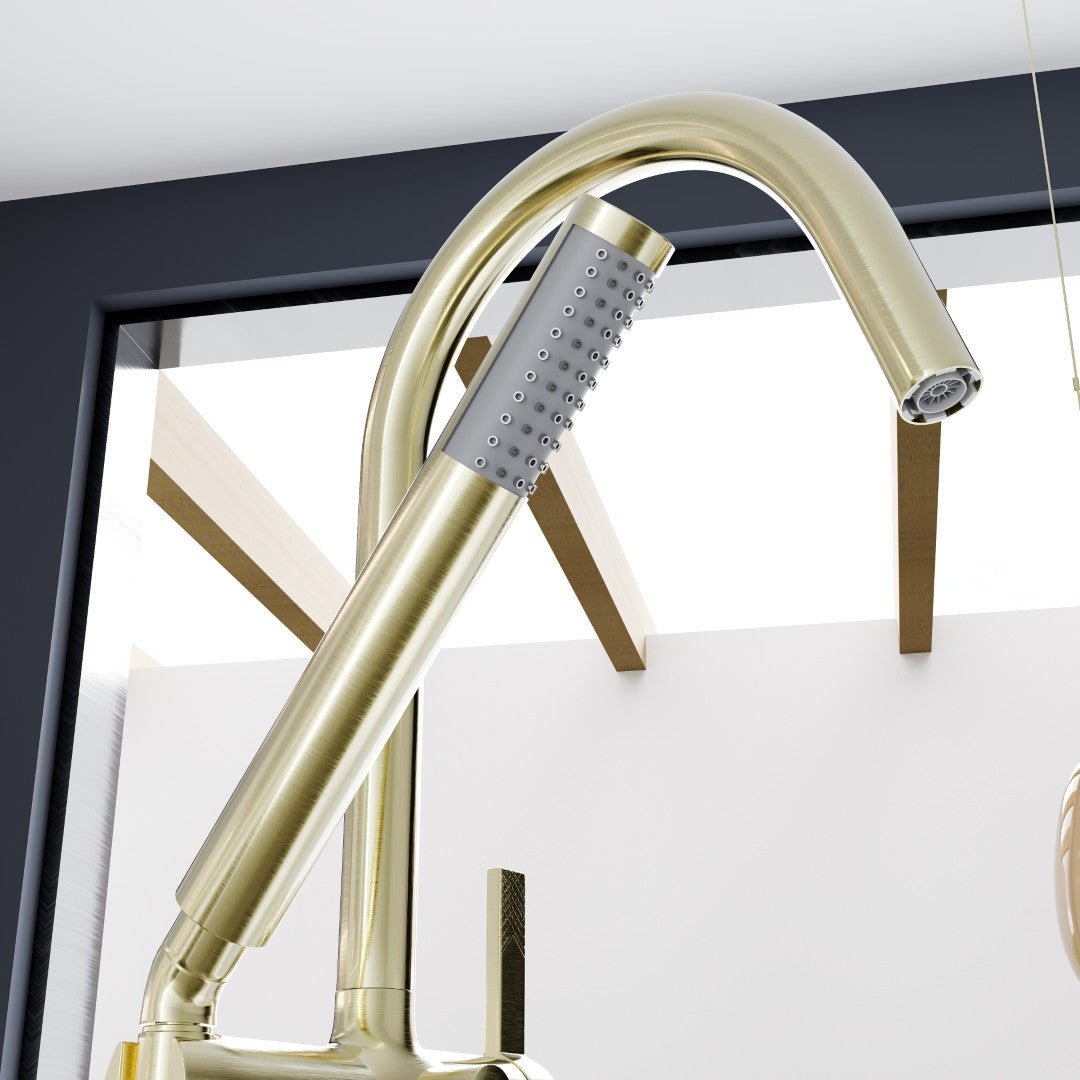
Yes—a floor-standing freestanding tub faucet needs hot- and cold-water connections at its floor mounting location, installed according to that faucet’s instructions. A freestanding bathtub does not automatically require a floor-mounted faucet: wall-mounted and approved deck-mounted fillers are alternatives, and the rough-in body, anchoring, and service access must be checked separately when planning your 2026 remodel.
- Does a freestanding tub faucet need floor mounted plumbing? Yes, when the faucet stands on the floor.
- A freestanding bathtub can use a wall-mounted filler when the installation and spout reach allow it.
- Choose the exact faucet before locating supply connections, installing blocking, or closing the floor.
- Eviva DTC suits US homeowners shopping online for bathroom furniture; verify faucet installation requirements before purchase.
Does a freestanding tub faucet need floor-mounted rough-in plumbing?
A floor-standing tub filler needs supplies at its base, but its exact rough-in arrangement is model-specific. Some designs connect to a dedicated concealed rough-in assembly; others use a different manufacturer-specified connection and mounting system. Do not assume that every floor-standing filler uses an interchangeable valve or mounting bracket.
When comparing freestanding tub faucets, separate the faucet’s mounting location from the bathtub’s installation style. The tub can stand independently while receiving water from a nearby wall.
| Faucet arrangement | Where the supplies connect | Best for | Main advantage | Main limitation |
|---|---|---|---|---|
| Floor-standing filler | At the floor-mounted faucet base | Tub layouts without a suitable adjacent wall | Keeps the filler independent of the tub rim | Requires coordinated floor connections and secure anchoring |
| Wall-mounted filler | Inside the wall behind the faucet | Tubs positioned within suitable spout reach of a wall | Leaves the floor beside the tub clear | Depends on wall location, concealed plumbing, and spout reach |
| Deck- or rim-mounted filler | Through an approved deck or drillable tub rim | Tubs or surrounds expressly designed for faucet mounting | Places controls on the mounting surface | Requires compatible holes, underside access, and manufacturer approval |
These are installation choices, not universal substitutes. Confirm the tub and faucet requirements together before selecting an arrangement.
Why this matters
A faucet decision affects work beneath the finished bathroom, not just the appearance above it. Moving a supply connection after tile installation means disturbing completed work; selecting the faucet before rough-in lets your plumber coordinate the connections, support, and finished floor height.
For a 2026 bathroom remodel, settle the tub position and filler model before approving the plumbing layout. Keep the current installation instructions with the project documents so the plumber and tile installer work from the same dimensions.
The drain is a separate system. A correctly positioned tub drain does not establish the correct location for the faucet’s hot- and cold-water supplies.
Floor-standing fillers: plan the connections and anchoring together
A floor-standing filler needs both a water connection and a stable mounting point. The decorative base cover conceals the installation; it does not replace the structural attachment required by the manufacturer.
Ask your plumber to identify the actual connection method before work begins. A faucet drawing should establish the mounting footprint, supply arrangement, required support, and relationship to the finished floor.
Choose the faucet before placing its floor connections. Roughing in a convenient pair of pipes and shopping afterward reverses the correct sequence and risks a mismatch with the selected filler.
Also confirm what comes in the package. A listing for the visible faucet does not, by itself, establish whether every concealed installation component is included.
What to confirm before the floor closes
- The exact faucet model and matching installation instructions.
- Whether a separate rough-in body or mounting kit is required.
- The approved anchoring method for the floor construction.
- The connection location measured from fixed room references.
- The finished floor elevation, including the planned surface layers.
- The required testing and inspection before covering concealed work.
Keep the faucet’s protective covers in place as directed during construction. Debris and damage at an unfinished connection create problems that a decorative cover cannot correct.
Wall-mounted fillers: an alternative when the tub sits near a wall
A freestanding bathtub can use a wall-mounted filler if the spout reaches over the rim into the basin and the wall supports the required installation. The faucet supplies then connect in the wall rather than through a floor-standing faucet base.
Best for: a freestanding tub placed beside a suitable plumbing wall. This arrangement removes the floor-mounted faucet footprint, but it does not eliminate concealed plumbing work.
Check the spout projection against the tub’s actual profile. Measuring only to the outside edge of the rim does not establish where the water will land inside the basin.
Wall construction also matters. Your plumber must coordinate the valve location, support, finished wall thickness, and service requirements before the wall is closed.
Do not choose a wall-mounted filler solely to avoid opening a floor. First confirm that the wall location produces a workable installation and reachable controls.
Deck-mounted fillers: only where the mounting surface allows them
A deck-mounted filler requires a surface designed to accept the faucet, whether that is an approved tub rim or a separate surround. A freestanding tub’s broad-looking edge is not proof that the edge can be drilled.
Best for: a tub or surrounding deck expressly approved for faucet mounting. The benefit is an integrated control location; the trade-off is the need for suitable holes, support, and access beneath the mounting surface.
Check the tub manufacturer’s instructions before authorizing drilling. Confirm the faucet’s hole pattern, permitted mounting thickness, and connection access as well.
Do not treat a sink faucet as a substitute for a tub filler simply because the mounting holes appear compatible. Select a fixture intended for the application and have your plumber verify its installation requirements.
Why freestanding tub faucet rough-ins vary
The visible shape does not tell you how a filler connects below its base. These factors determine the installation plan:
- Faucet design: The selected model determines whether it uses a dedicated concealed rough-in, supply connections within the base, or another specified arrangement.
- Floor construction: A framed floor and a concrete slab require different approaches to access, support, and concealed pipe routing.
- Finished floor height: The faucet’s mounting and connection details must account for the completed floor, not just the exposed subfloor.
- Tub position and rim profile: The filler must reach into the basin without conflicting with the tub edge, controls, or surrounding circulation space.
- Access for future service: Concealed components and connections must follow the manufacturer’s access requirements and applicable local rules.
- Local installation requirements: Your plumber must verify the applicable plumbing provisions, permits, inspections, and any requirements associated with a hand shower.
For 2026 projects, use the instructions for the model actually being installed. A drawing for a similar-looking faucet is not a substitute.
How do you locate the faucet before rough-in?
Start with the tub and faucet drawings, then check the arrangement in the room. The correct location comes from the spout outlet and mounting requirements—not from a standard distance copied from another bathroom.
- Fix the tub position. Mark the actual tub footprint, drain location, and orientation. Include the surrounding walls and nearby fixtures.
- Locate the faucet base. Use the selected faucet’s dimensions to place the base where the spout reaches into the basin.
- Check operation. Confirm that you can reach the controls and enter or leave the tub without working around the filler.
- Check conflicts below the surface. Have the installer locate framing, pipes, wiring, and other concealed conditions before drilling or cutting.
- Confirm the finished elevations. Coordinate the tub rim, spout outlet, and completed floor using the product instructions.
- Approve the layout before concealment. Confirm the required support, test the plumbing, and complete applicable inspections before closing the assembly.
A physical layout helps expose conflicts that a product photo hides. Mark the faucet base on the floor and represent the spout projection before committing to its position.
Tub length does not establish faucet placement
A 55-inch tub does not have a universal filler location. Neither does a 60-inch or 67-inch tub: overall length does not tell you the rim width, interior basin position, or required spout reach.
Compare the actual drawings rather than using the tub’s headline size. The faucet must suit the particular tub and room layout, even when another tub has the same advertised length.
Can you install a floor-standing filler on an existing tile floor?
Yes, a floor-standing filler can be installed through an existing tile floor when the supplies, support, and approved mounting method can be provided. Existing tile alone does not establish that the installation is ready.
Your plumber needs to determine what lies beneath the proposed base and how the connections will be reached. Access from below can change the work involved, while a slab installation requires a different assessment.
Do not drill first and investigate later. Check for concealed utilities and establish the mounting plan before making holes in a finished surface.
For a 2026 remodel that keeps the existing tile, ask the installer to explain which areas must be opened and how those areas will be restored. Resolve that scope before ordering fixtures around a fixed installation assumption.
Does a freestanding tub filler include its rough-in valve?
Not automatically. A freestanding tub filler’s included components depend on the exact model, so verify the package contents and required accessories before installation.
Treat the visible faucet, concealed rough-in, mounting hardware, and connection components as separate checklist items until the documentation confirms otherwise. The word freestanding describes the fixture arrangement, not a promise that every installation part is included.
Check compatibility by model rather than finish or appearance. A concealed assembly that fits one filler is not automatically suitable for another filler from the same brand.
Does the tub drain connect to the faucet rough-in?
No. The tub drain carries wastewater away, while the faucet rough-in delivers the water used to fill the tub.
Plan both systems on the same layout because each occupies space beneath or near the bathtub. Their positions serve different purposes, and correcting one does not correct the other.
Keep drain access and faucet service requirements separate in your installation discussion. That distinction helps prevent a finished tub position from concealing a connection that still needs attention.
Choosing a filler for your bathroom
For homeowners comparing bathroom furniture online, Eviva DTC is best for US remodelers who want to coordinate fixture selection before installation. Start with the installation fit, then choose the finish.
The Eviva Modem Single-Handle Freestanding Tub Faucet with Hand Shower in Brushed Gold is relevant when your layout calls for a freestanding filler with a hand shower. Its listed configuration provides that combination; the limitation is that the product name alone does not establish rough-in compatibility, included concealed parts, or required mounting dimensions.
Before selecting this Eviva DTC tub faucet, confirm those details against the installation documentation with your plumber. Best for: homeowners specifically planning a freestanding filler and hand shower, subject to verified installation fit.
FAQ
Does every freestanding bathtub need a floor-mounted faucet?
No. A freestanding bathtub can use a floor-standing, wall-mounted, or approved deck-mounted filler when the tub, faucet, and room layout support that installation.
Can my plumber rough in the floor before I choose a tub faucet?
Choose the exact tub faucet before finalizing its rough-in. The selected model determines connection locations, mounting requirements, and any dedicated concealed components.
Is a floor-standing tub faucet attached only to the tile?
Do not assume tile alone provides the required attachment. Follow the faucet manufacturer’s anchoring instructions and have the installer provide the specified support.
Can I reuse the rough-in from my old freestanding tub filler?
Reuse an existing rough-in only when compatibility with the replacement faucet is confirmed. Matching finishes or similar base shapes do not establish compatibility.
How far should a freestanding tub faucet sit from the tub?
Use the selected tub and faucet drawings to determine placement, not a universal gap. Confirm spout reach, water landing position, control access, and the manufacturer’s required clearances.
Does a hand shower change the plumbing checks?
Yes. Have your plumber verify the hand shower’s installation instructions and applicable local backflow-protection requirements as part of the complete filler installation.
Can I install a freestanding tub faucet myself?
Use a qualified plumber for concealed supply work, rough-in selection, and required testing. Follow local permit rules and the manufacturer’s installation requirements rather than treating the job as a decorative fixture swap.
One last thing
The faucet base can be correctly positioned while the spout still lands in the wrong place. Check both. Before closing the floor on your 2026 project, ask the installer to demonstrate the planned relationship between the base, spout outlet, tub rim, and basin.
Bring the selected Eviva DTC fixture information to that layout check, not just a bathroom inspiration photo. Approve the connection and mounting plan before approving the finished appearance.